WDFW Approves razor clam tides: May 10th- May 15thTides Last tides of the season. Halibut Season Starts May 1st Bottom Fishing opens March 8th
Cleaning Razor Clams
Cleaning razor clams may take a little time, but when done right makes preparing them easy.
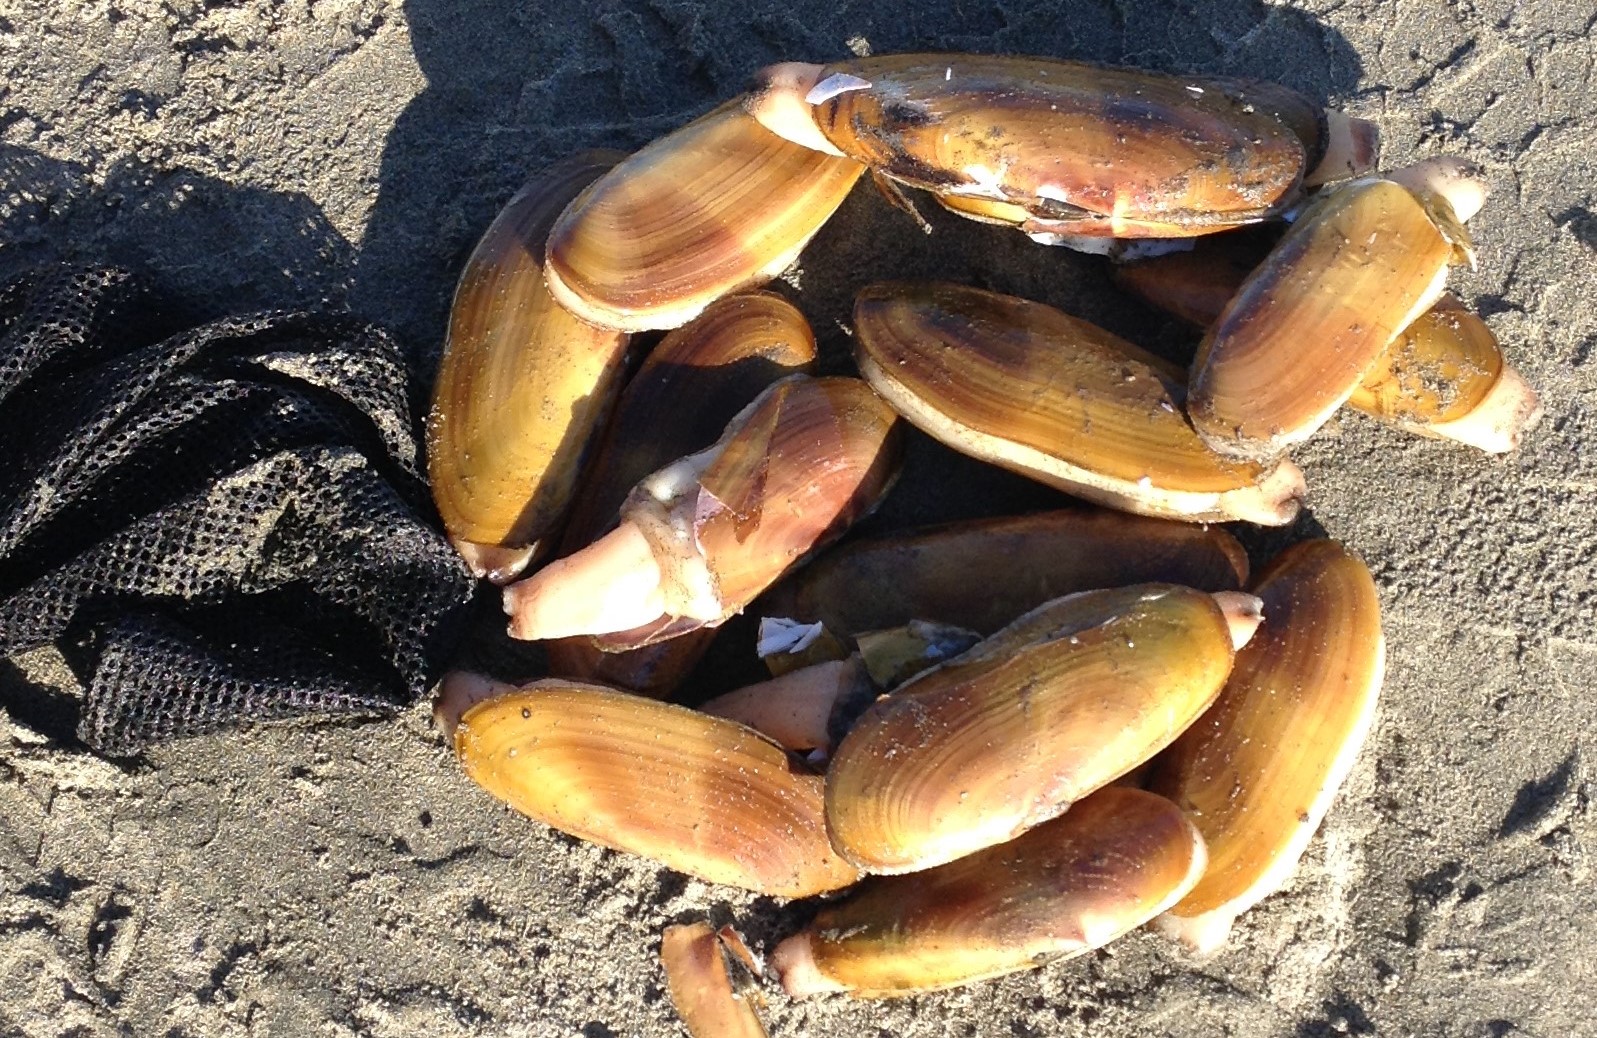
Digging your limit of razor clams at Grays Harbor Beaches is just the beginning. Now its time to clean and prepare them for your dinner table. Below are the steps in cleaning your limit of razor clams.
You may even find that digging them took way less time that it will to clean the razor clams.
Freshly dug razor clam
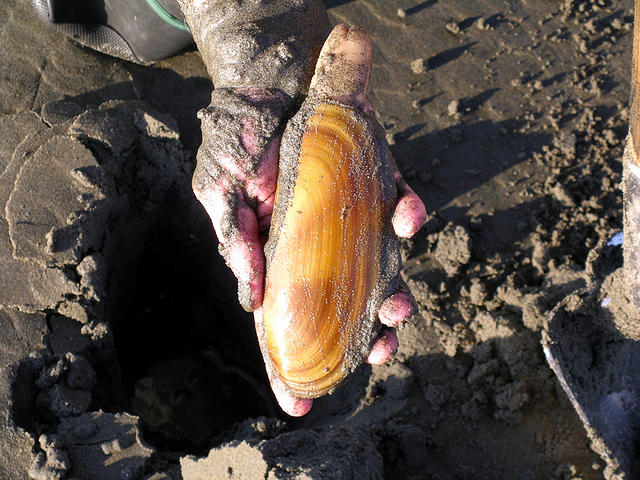
The first step in cleaning razor clams is removing the shell. The easiest way to accomplish is to first rinse all sand from your clams.
Razor Clam limit being prepared to clean
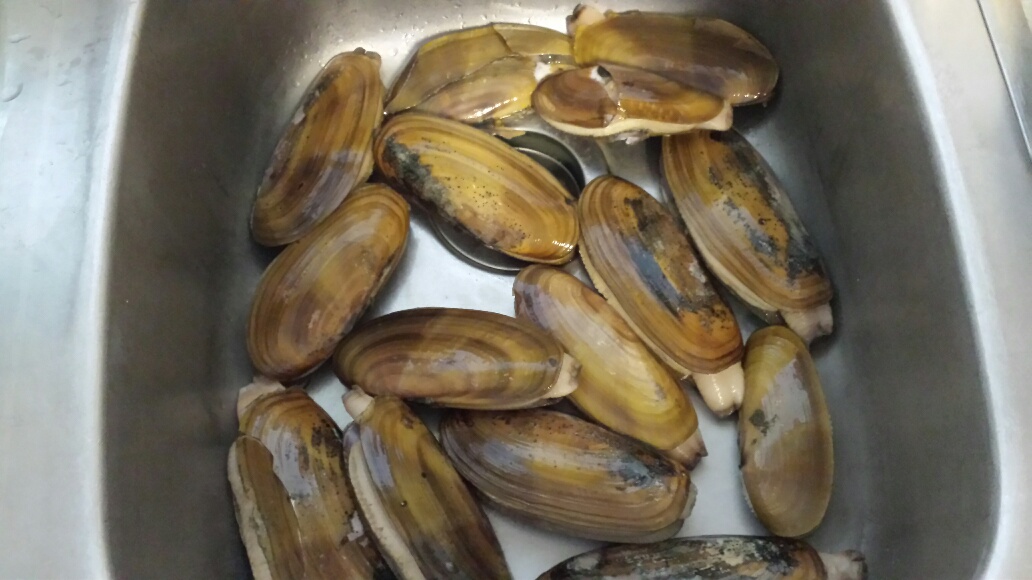
Place the clams in large pan or a sink with that has the stopper installed. Pour a large volume of boiling water (about 1 quart for 15 clams) over the clams. Wait about ten seconds and dump out the water, or drain the sink.
IMMEDIATELY place clams in cold tap water and remove meat from shell.
Another way is to cut the four muscle attachments of the paired adductor muscles by running a sharp knife along the inner surface of each shell.
The next step is to remove the tip of the siphon, gills and digestive tract - the dark parts of the clam
You can either use a sharp knife or scissors.
Cleaning Razor Clams Illistations
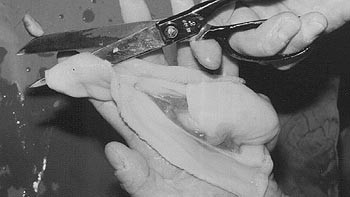
1. After snipping the tip of the neck
(siphon), open the body from the base of the foot to the tip of the siphon.
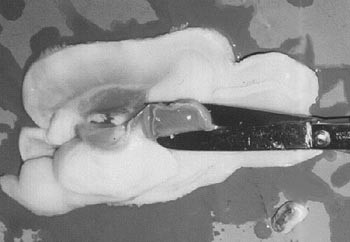
2. The paired gills and palps (mouth parts) are removed with two cuts.
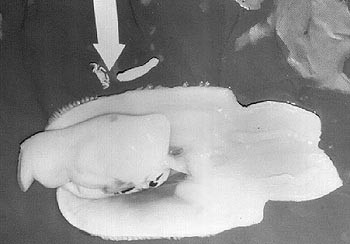
3. During cleaning, you may find small "pea
crabs" or flatworms inside the body of the clam. NEITHER OF
THESE AFFECTS THE QUALITY OF THE RAZOR CLAM MEAT.
(See
close up of pea crab)
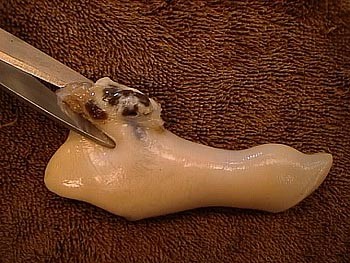
4. Squeeze the digger (foot) and make a circular cut to remove the stomach.
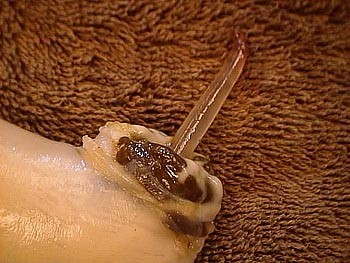
5. Note: the clear rod in the digger. It is called the "crystalline style". It is used as a digestive enzyme much like saliva and helps break down the silica-like shell of the diatoms they eat. The crystalline style should be removed.
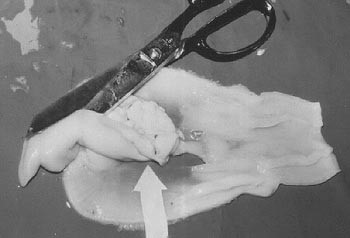
6. Slit the digger so that it will lie flat. Pick out the small intestine that runs through the foot.
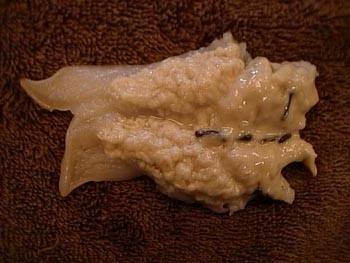
7. Rinse and the clam is ready for cooking. (See Recipes)
 Webcam Westport, Washington